
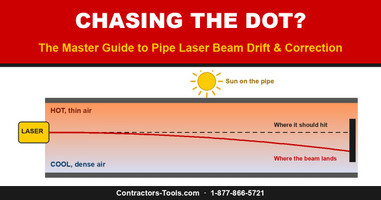
Pipe Laser Beam Drift: Master Guide to Causes & Correction
Posted by Contractors-Tools.com on 29th Oct 2026
Chasing the Dot?
The Master Guide to Pipe Laser Beam Drift and Beam Drift Correction
- What beam drift is
- Why the beam bends
- Every cause of beam drift
- Drift, movement or calibration?
- Beam drift correction, step by step
- Setting up the blower
- What the manufacturers say
- Pipe laser blowers
- Green beam: fact or hearsay?
- Auto-alignment and the remote
- Troubleshooting table
- Shopping for a pipe laser?
- Frequently asked questions
- Technical references
- Line transfer and over-the-top
What is pipe laser beam drift?
A pipe laser does one job: it puts a single beam down the pipe on line and grade, and every joint gets laid to that spot on the target. Beam drift is any time that spot will not hold still. Crews call it beam bounce, grade sag or a dancing dot. The beam bends off the true line, wanders slowly, or shimmers so badly you cannot read the centre.
Here is the part that saves arguments in the trench: in most cases the laser is doing exactly what it should. The beam leaves the laser on grade, and the air inside the pipe bends it on the way to the target. That bending is called refraction, and it is the classic cause of beam drift.
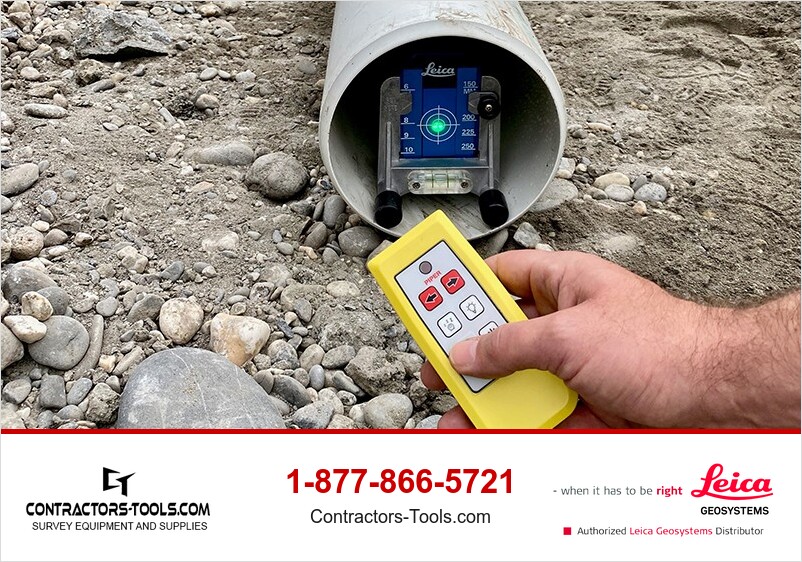
Why the beam bends: refraction in the pipe
Spectra Precision explains it with a picture every contractor has seen: shine a flashlight into a swimming pool and the beam bends where it enters the water. Light changes direction when it passes between substances where it travels at different speeds, and air at different temperatures and densities is enough to do it.
Now picture the jobsite. A pipe has been baking in the sun all morning and goes into a cool ditch. The bottom of the pipe cools first against the earth, while warm air stays trapped in the top half. The beam passing through those layers bends down toward the cooler, denser air, so the spot sags below grade at the target. Leica describes the same thing: layered air can bend the beam downward or make it dance as it travels to the target.
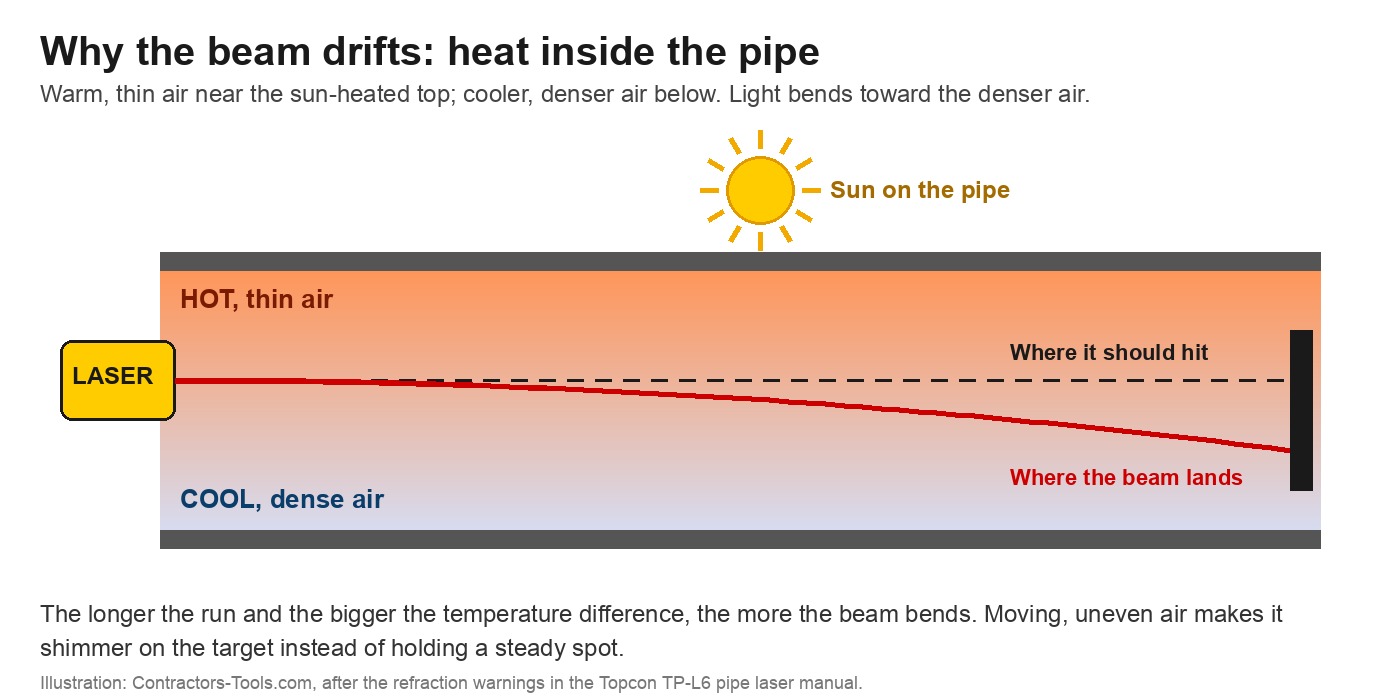
Two things make it worse. Distance multiplies a small bend, so long runs show it first. And when the layers are moving, the bend changes moment to moment, which is why the spot flickers instead of sitting low in one place.
Every cause of beam drift, from the manuals
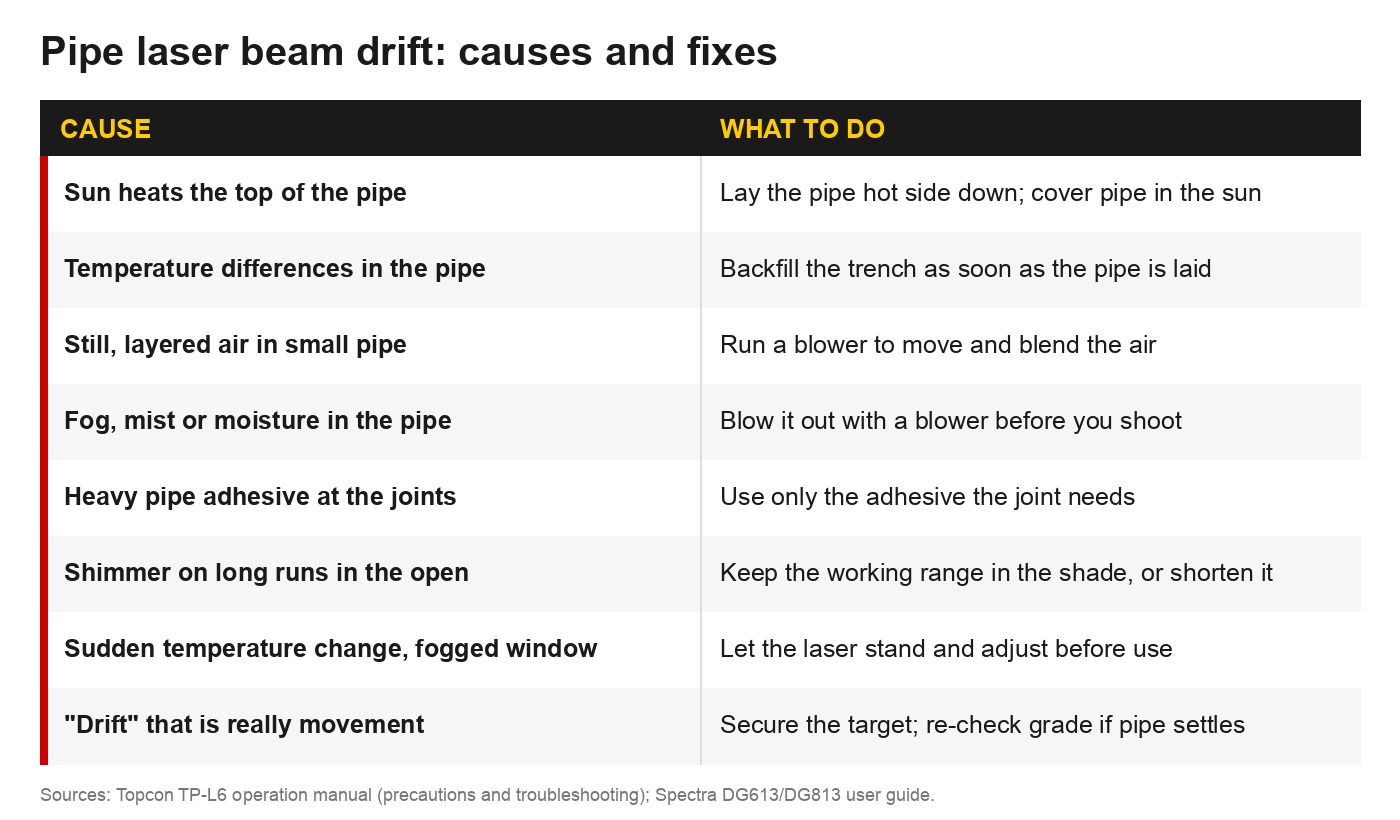
- Sun-baked pipe in a cool trench. The number one cause. Hot top, cool bottom, beam bends down.
- The last four or five joints. Spectra notes refraction usually occurs at the last few joints, the sun-baked ones that have not had time to cool in the shade and against the earth of the trench.
- Small diameter pipe. Spectra calls refraction “a small diameter pipe problem”, and Topcon lists small pipe diameter among the conditions that affect precision and range.
- Solvent fumes from joint glue. Spectra names solvent fumes from the glue used at joints as a cause of refraction, and Topcon warns against applying an excessive amount of pipe adhesive. Heavy fumes settle in the pipe and the trench and bend the beam just like hot air.
- Hot or humid weather. Leica says refraction is especially noticeable in hot or humid weather.
- Extreme cold. It works in reverse, too: Leica points to very cold days when warm air from a freshly opened trench mixes with the cold air, and Spectra to a cold pipe placed in a warm trench.
- Fog, mist and moisture. Topcon lists refraction and reflection from fog or mist in the pipe as a cause of an unstable beam.
- Moving air on long runs. Topcon notes that large atmospheric motion shortens working range, including auto-alignment and the remote.
- A sudden temperature change on the laser. Bring a cold laser into warm, damp air and condensation can fog the window the beam leaves through.
Drift, movement or calibration: know which one you have
Before you fight the air, make sure it is the air. Three different problems all look like “the dot moved”, and each has a different fix.
| Beam drift (refraction) | Something moved | Calibration error | |
|---|---|---|---|
| How it looks | Spot shimmers, flames at the edges, or sags low | Spot creeps steadily one way and stays there | Same error every time, in every condition |
| When it shows up | Heat of the day, humid days, fresh glue, long runs | After the pipe settles or the target gets bumped | Cool morning, open air, short shot: still off |
| First check | Get a blower running and watch whether it settles | Check pipe grade with a level; secure the target (Topcon) | Run the calibration check below |
| Fix | Mix and stabilise the air | Re-set the pipe or target | Send the laser in for service |
Spectra’s calibration check takes a few minutes on a level road, parking lot or field: set two points about 100 feet (30 m) apart, warm the laser up for about 10 minutes at 0.000%, read the beam at both points from behind the low point, then move behind the other point and read both again. If the two differences match, the laser is in calibration. Spectra’s limit is 0.02 ft in 100 ft (6.4 mm in 30 m); more than that and the laser goes to an authorized service center.
Beam drift correction, step by step
These are the manufacturers’ own precautions, in the order a good foreman runs them on a hot day. Most crews use several at once.
- Get a blower on the pipe. The fix all three manufacturers recommend. A blower mixes the layers of air into one uniform medium so the beam travels straight. Spectra advises one once the run passes 50 feet (15 m); Leica says let it run at least 10 minutes before you align the next pipe. Setup details are in the next section.
- Lay the sun-baked side down. Roll the hot side of the pipe to the bottom so it cools fast against the earth. Spectra and Topcon both call for it.
- Backfill as you go. Spectra calls the earth “a great temperature stabilizer”. Backfill immediately unless the jobsite makes it impossible, and run the blower with it to stabilise the temperature faster.
- Keep the glue in check and get the fumes out. Use only as much adhesive as the joint needs. If heavy fumes are pooling in the trench, Spectra’s field trick is to have the backhoe dig five full buckets and then swing one or two empty, like bailing water, casting the empty bucket on the low or downwind side. Or set a gas blower at the cut end pulling fumes out while the electric blower pushes them through the pipe.
- Clear fog and mist. Moisture both refracts and reflects the beam; a blower clears it.
- Work in the shade, or shorten the shot. When the air is moving, Topcon says to keep the working range in the shade or shorter.
- Let the laser acclimate. After a big temperature change, let it stand so the window does not fog and the instrument settles to the jobsite.
- Do not chase the dot. Do not change the laser’s grade or line just to compensate for a spot you suspect is being refracted. Fix the air, then verify independently with a level and a grade rod. Spectra recommends a grade check after the first 25 to 50 feet of pipe.
- Last resort: go over the top. Spectra’s final word on refraction: if all of the above fail, use the laser in an over-the-top setup and shoot grade in open air. Topcon likewise offers placing the instrument on the pipe as the alternative to a blower. See the over-the-top package at the end of this guide.
Setting up the blower: make the air corkscrew
A blower only works if it mixes the air rather than pushing one warm layer down the pipe. The goal is a spiral, a corkscrew of air that scrubs the walls and blends the warm and cool layers into one.
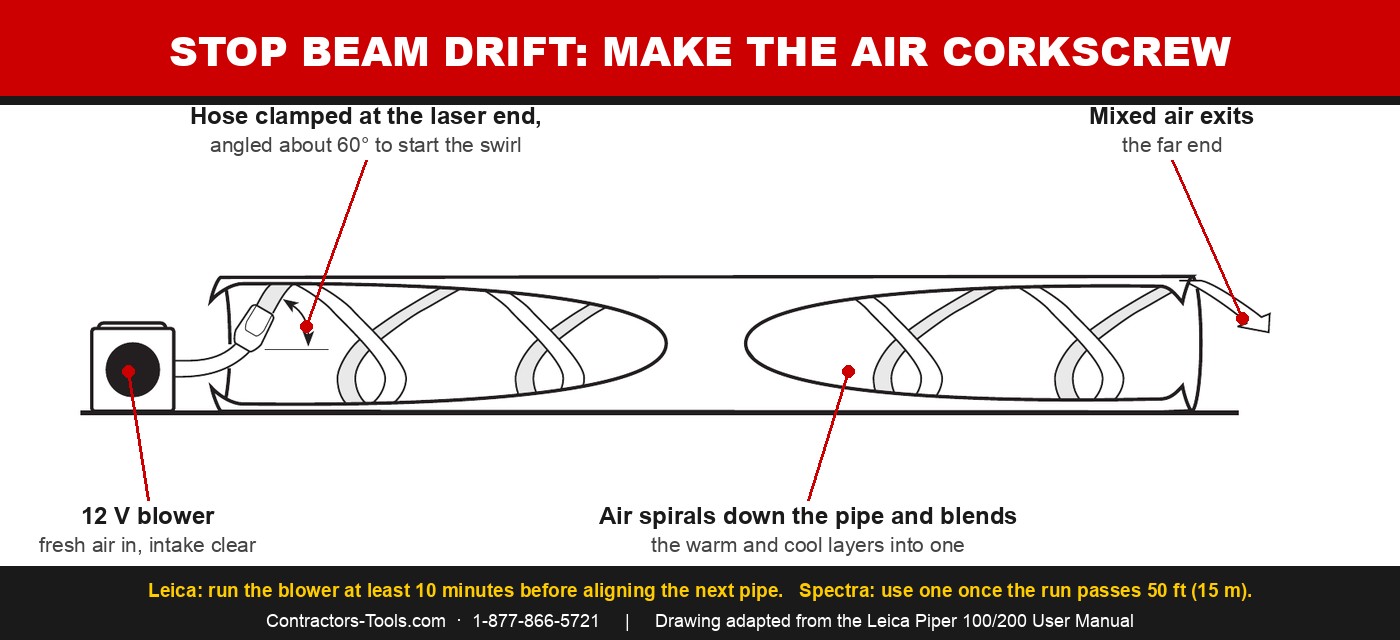
- Power: a separate 12-volt battery (Leica, Spectra).
- Intake: keep it clear and drawing fresh air, ideally at about the same temperature as the air in the pipe (Leica). Keep the blower out of standing water (Spectra).
- Hose angle: clamp the hose at the laser end and angle it about 60° so the air swirls as it travels (Leica), or angle the nozzle to bounce the air off the side of the pipe for a spiral (Spectra).
- Nozzle position: on the side of the pipe or in the invert. Avoid the top unless there is no other choice; it pushes the warm gas through the pipe (Spectra).
- Nozzle or no nozzle: Leica uses the nozzle on pipe 10 inches (250 mm) and smaller and goes without it on larger pipe. On pipe 18 inches (45 cm) and up, Spectra positions the nozzle off the invert, below the layer of gas.
- Speed: start with the first section of pipe and increase the speed as the run grows (Spectra). Do not overdo it: Spectra notes that, although unlikely, too much air can also cause refraction.
- Time: let it run at least 10 minutes before aligning the next pipe (Leica).
- Wind: if a strong wind is already blowing down the pipe and fighting the blower, Spectra says you may not need it.
What the manufacturers say, side by side
| Spectra Precision | Leica Geosystems | Topcon | |
|---|---|---|---|
| When to run a blower | Once the run exceeds 50 ft (15 m); faster as it grows | Strongly recommended in hot, humid or very cold conditions | When hot side down, light adhesive and fast backfill are hard to manage; also to clear fog and mist |
| How long | From the first section of pipe | At least 10 minutes before aligning the next pipe | — |
| Airflow | Nozzle angled off the wall for a corkscrew; side or invert, not the top | Hose at 60° to swirl; nozzle on pipe 10 in and under | Move and blend the air; clear fog and mist |
| Pipe handling | Hot side down; backfill as you go | — | Hot side down; backfill; no excess adhesive |
| Last resort | Over-the-top setup | — | Blower, or place the instrument on the pipe; shade or a shorter range for moving air |
Read the source documents in the technical references.
Pipe laser blowers: the cheapest fix in the trench
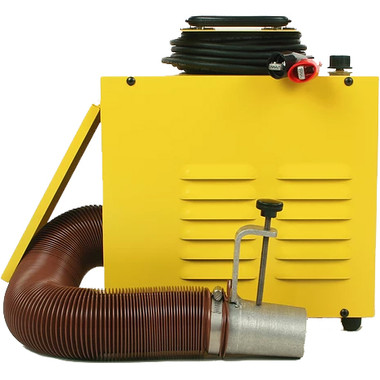
A blower costs less than one afternoon of a crew standing around waiting for the dot to settle, and a lot less than digging up a run laid off grade. If you lay pipe in the summer, it belongs in the truck next to the laser. Both blowers we carry run on 12 volts and work with any brand of pipe laser.

Do green beam pipe lasers resist beam drift? Fact or hearsay
You will hear it on jobsites: “go green and the drift goes away.” We checked the manuals and data sheets from Leica, Spectra and Topcon, and none of them claim it. The physics backs that up. Refraction comes from the air in the pipe, and it bends a green beam the same way it bends a red one. A blower, not a beam colour, is what keeps the dot still.
Where green earns its money is visibility. Leica rates the Piper 200G’s green beam about four times more visible than red, so the spot stays crisp and readable at distance, in daylight and down a long run, which makes it easier to see the centre of the dot when conditions are less than perfect. Buy green to see the dot. Run a blower to keep it from moving.
Beam drift, auto-alignment and the remote
Auto-targeting systems, like Leica’s Alignmaster on the Piper 200 and Topcon’s automatic alignment, look down the same pipe as the beam, so the same air affects them. Topcon notes that large atmospheric motion can shorten the range of automatic alignment and of the remote control, and recommends working in the shade or using a blower. If the auto-align or the remote struggles at distance on a hot afternoon, treat it as a beam drift problem first.
Beam drift troubleshooting table
| What you see | Likely cause | What to do |
|---|---|---|
| Edges of the spot flaming | Refraction starting | Start the blower now, before the spot sags |
| Spot dances or shimmers | Moving, layered air; fog or mist | Blower with a corkscrew airflow; shade or shorten the shot |
| Spot sags low on a hot day | Sun-baked pipe in a cool ditch | Hot side down; backfill; blower 10 minutes before aligning |
| Drift right after gluing a joint | Solvent fumes in the pipe | Go easy on the glue; blow the fumes out; bail the trench |
| Spot creeps one way over time | Pipe sinking or loose target | Check grade with a level; secure the target |
| Off by the same amount every time | Calibration | Run the 100 ft calibration check; service if over 0.02 ft |
| Auto-align or remote short on range | Atmospheric motion in the pipe | Shade or blower; shorten the working range |
| Beam blurred after moving the laser | Condensation on the window | Let the laser stand and acclimate |
Shopping for a pipe laser?
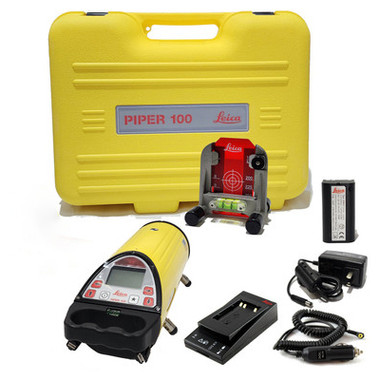
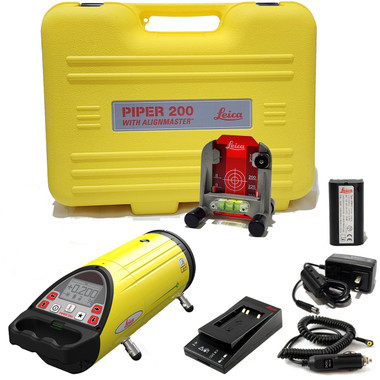
Every laser below handles beam drift the same way, with a blower and good pipe practice. Where they differ is features: remote control, auto-alignment, and red or green. We are an authorized dealer for Leica, Spectra Precision and Topcon, and we will help you pick the right one for your pipe sizes and crew.
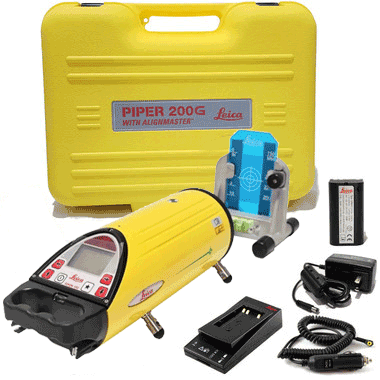
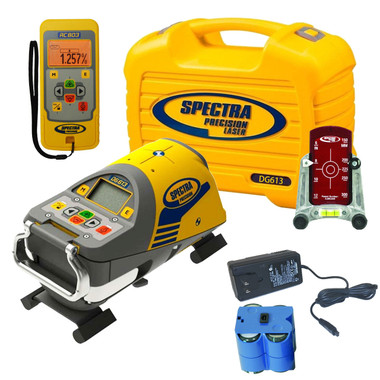

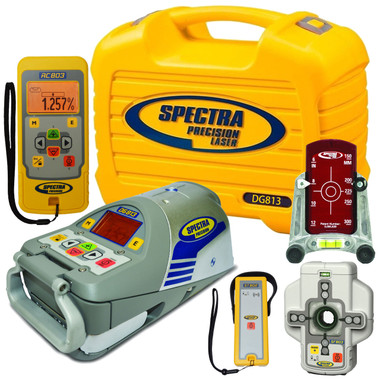
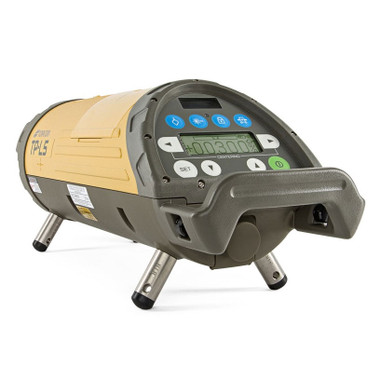

See every model in pipe lasers, or call 1-877-866-5721 to talk it through.
Frequently asked questions
What is pipe laser beam drift?
Beam drift is when the spot from a pipe laser will not hold where you set it on the target: it sags off grade, bends off line, or dances so you cannot read it. Most of the time the laser is fine and the air in the pipe is bending the beam (refraction). Sometimes something has physically moved, and occasionally the laser is out of calibration.
What causes a pipe laser beam to drift?
Layers of air at different temperatures and densities inside the pipe. A sun-baked pipe set in a cool ditch cools from the bottom first, and the warmer air in the top half bends the beam down toward the cooler air. Solvent fumes from joint glue, fog and mist, humid weather, a cold pipe in a warm trench, small pipe diameter and long runs all add to it. Spectra notes it usually shows up in the last four or five joints, the ones that have not cooled against the earth yet.
How do you correct pipe laser beam drift?
Mix the air and stabilise the temperature. Run a pipe laser blower with the hose angled so the air corkscrews down the pipe, lay the sun-baked side of the pipe down, backfill as you go, go easy on the glue and clear the fumes, and keep the shot in the shade or shorter. Do not re-aim the laser to chase the dot; verify grade with an independent check first.
When should I use a blower with a pipe laser?
Spectra advises a blower once the pipe run exceeds 50 feet (15 m), with the speed increased as the run gets longer. Leica strongly recommends one in hot, humid or very cold conditions and says to let it run at least 10 minutes before aligning the next pipe.
How do I set up a pipe laser blower?
Power it from a 12-volt battery, keep the intake clear and drawing fresh air at about the same temperature as the air in the pipe, and clamp the hose at the laser end angled about 60 degrees so the air swirls (Leica). Leica uses the nozzle on pipe 10 inches (250 mm) and smaller. Spectra says to mount the nozzle on the side of the pipe or in the invert, not the top, and warns that too much air can also cause refraction.
What is the warning sign of beam drift?
Spectra says refraction is preceded by what looks like flaming at the edges of the laser spot. When you see the edges of the dot start to flame or shimmer, it is time to get air moving through the pipe before the spot starts to sag.
Are green beam pipe lasers less affected by beam drift?
No manufacturer we carry claims that, and the physics does not support it: refraction comes from the air in the pipe, and it bends a green beam the same as a red one. What green does give you is visibility. Leica rates the Piper 200G green beam about four times more visible than red, so the spot stays crisp and readable at distance and in daylight. Buy green to see the dot; use a blower to keep it still.
Is it beam drift or is my pipe laser out of calibration?
Drift moves with the conditions: it shimmers, gets worse in the heat of the day and settles when the air is mixed. A calibration error is the same every time, even on a cool morning in open air. Spectra's check uses two points about 100 feet apart, a 10-minute warm-up and readings from both ends; if the error is more than 0.02 ft in 100 ft, the laser goes in for service.
Should I adjust the grade on the laser to correct for drift?
No. Do not change the laser's grade or line just to chase a spot you suspect is being refracted. Fix the air, then verify grade independently with a level and a grade rod. Spectra recommends a grade check after the first 25 to 50 feet of pipe.
What if the blower does not stop the drift?
Spectra's last word on refraction: if nothing else solves it, run the laser in an over-the-top setup. With a Leica Piper that means the 746160 scope and mount on a heavy-duty tripod above the trench, shooting grade in open air.
Technical references
- Spectra Precision DG813 Basic Setup Information Guide (PDF): Refraction, Model 929 Blower, Calibration and Grade Check sections.
- Leica Piper 100/200 User Manual (PDF): chapter 4, Refraction; section 3.7, Over the Top.
- Topcon TP-L6 pipe laser operation manual (PDF): precautions and troubleshooting.
- Spectra Precision DG613/DG813 pipe laser user guide (PDF)
- Leica Piper 100/200/200G data sheet (PDF): green beam visibility.
Line transfer units: put the laser on line from the surface
A pipe laser holds grade, but it has to be pointed down the right line first, and your line is staked on the surface while the laser sits in the bottom of a manhole or trench. A line transfer unit is the bridge. It is a specialty transit that sets up on a tripod over the hole, and its 360° telescope sights straight down, so you can carry the surface reference points down to the laser and dial the beam onto the true line before the first joint is laid.
The David White LT8-300LTU is the one pipe crews know: 26X optics, 3/16 in accuracy at 150 ft, up to 400 ft of range and a horizontal circle with a vernier to 5 minutes. The laser plummet version sets up over your point with a laser dot instead of a plumb bob.


Both have a 5/8-11 base and set up on a standard contractor tripod, such as the SitePRO HVFG20-DCB below.
Take the Piper out of the pipe and shoot grade from daylight
Some days the pipe will not give you a clean shot: fumes that will not clear, a run that will not cool, or work that has to be checked from up top. That is the day to take the Piper out of the hole. Spectra’s own last word on refraction is to go over the top, and with a Piper it is a two-piece job. Bolt the Leica 746160 scope and mount to the laser, set it on a heavy-duty tripod above the trench, sight your line through the 4×28 scope and run grade in open air, where no warm layer can bend the beam.
Pair it with the SitePRO HVFG20-DCB, a fiberglass, dual-clamp tripod with a large flat head that holds a laser dead still in wind and rough ground. It is the over-the-top kit we would put in our own truck.
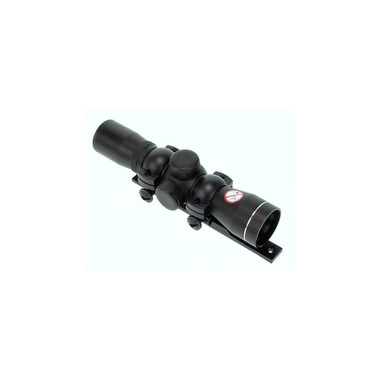

Setup, from the Leica manual: bolt the scope and mount to the top of the Piper with the two screws supplied, fix the Piper to the tripod, set the crosshairs on your target and steer the beam onto it with the arrow buttons or the remote. Full steps are in section 3.7 of the Leica Piper manual.